The Tenants view shows all the tenants that are connected to 365sentri. Use this view to find a tenant, examine its status, and activate it.
Overview
The Tenants view shows all the tenants that are connected to 365sentri. If Microsoft Partner Center is connected, 365sentri synchronizes its tenants to the list automatically. You can also add tenants manually.
You select which tenants to activate and manage with 365sentri. You pay only for active tenants.
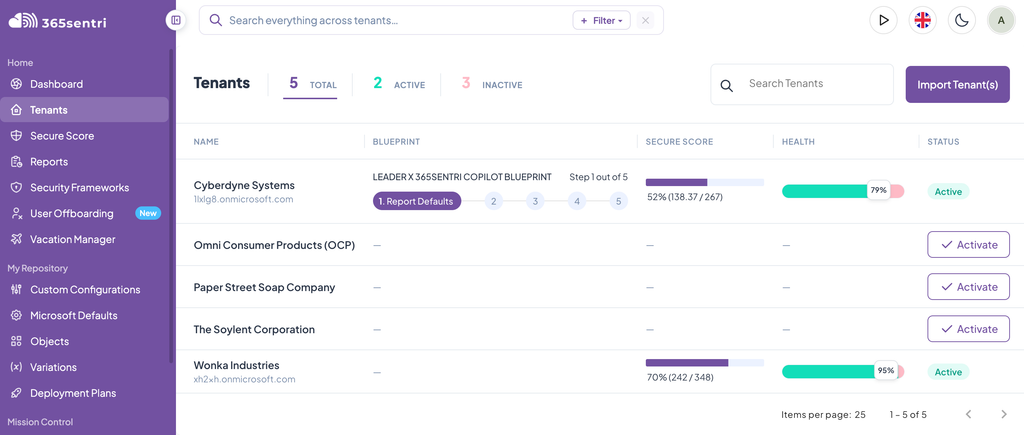
The summary at the top of the view shows the number of tenants in each group. Click a group to filter the list:
- Total: all the tenants
- Active: only the active tenants
- Inactive: only the inactive tenants
Note 365sentri keeps your last filter. When you go back to the Tenants view, the list shows the same filter. If a tenant does not show, make sure that the correct filter is selected.
Search
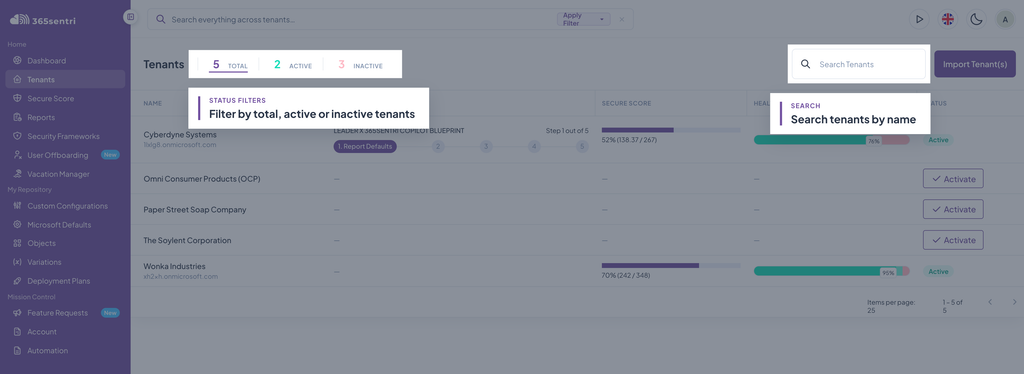
365sentri has two search fields. Use the search field in the Tenants view to filter the list of tenants. Use the global search field to find items in all of 365sentri.
Tenant list search
The search field at the top right of the Tenants view filters the list of tenants. Type a tenant name to show only the tenants that agree with it.
Global search
The global search field is in the top navigation bar. You can use it from all pages in 365sentri. It finds items in all your tenants.
To search in one tenant only, click Filter and select the tenant.
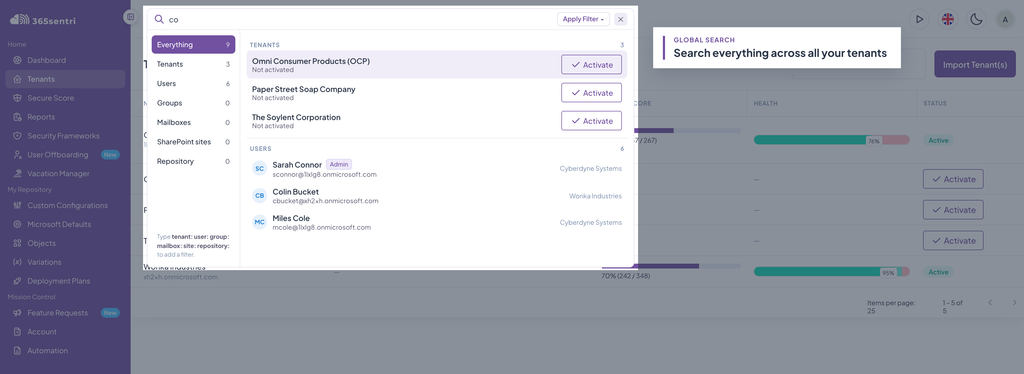
You can search for these items:
- Tenants
- Users
- Groups
- Mailboxes
Note 365sentri gets new features regularly. The list of items that you can search will continue to grow.
Tenant information
For each tenant, the view shows these items:
- The tenant name
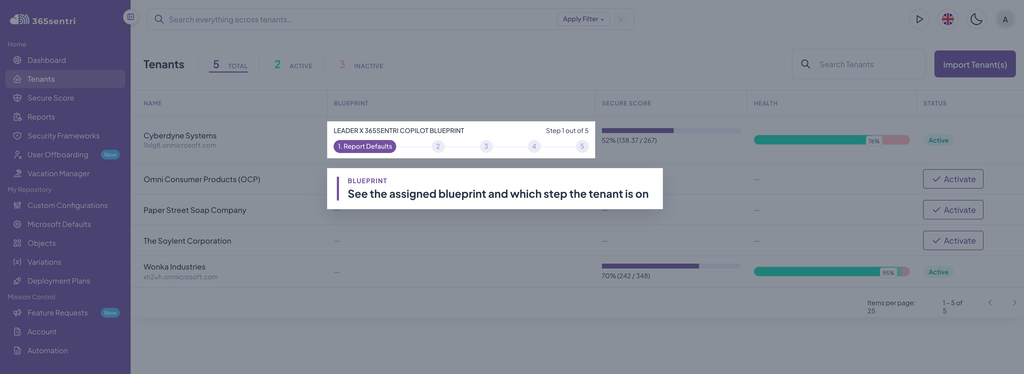
- The Blueprint that is applied to the tenant
- The current deployment step of the Blueprint
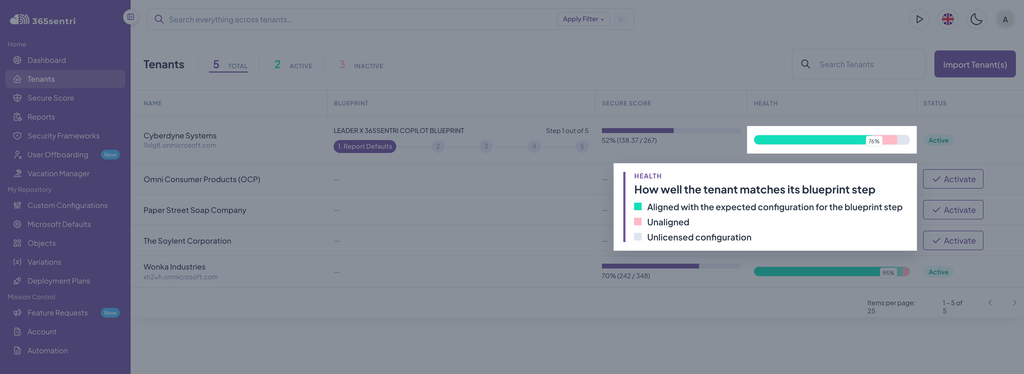
- The health of the configuration
- The Microsoft Secure Score
- The activation status (Active or Inactive)
Tenant name
Click the tenant name to open the page of the tenant.
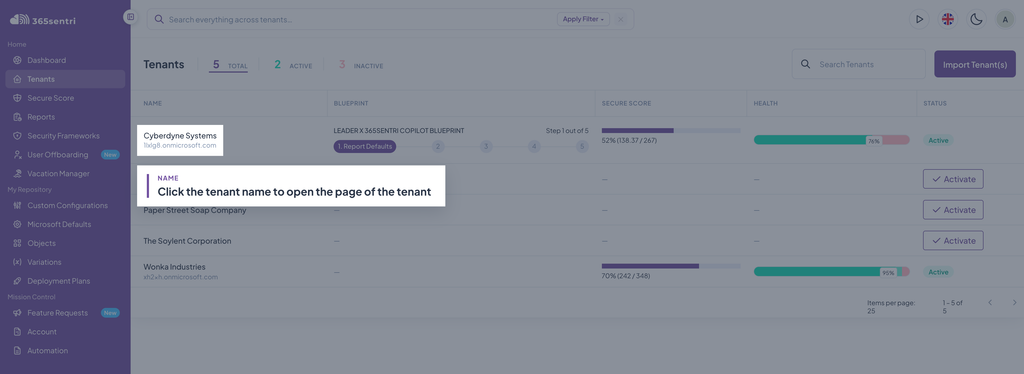
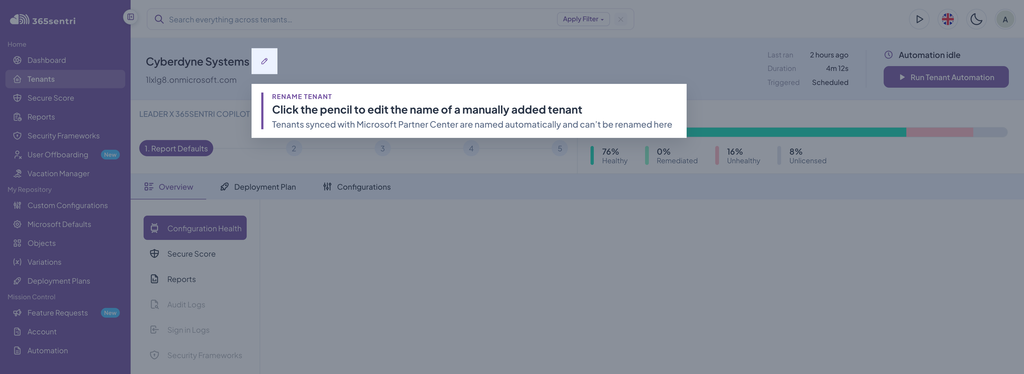
You can change the name of a tenant that you added manually. The new name shows only in 365sentri. It does not change the name of the tenant in Microsoft 365.
Note A tenant from Microsoft Partner Center gets its name from Partner Center. You cannot change the name of this tenant in 365sentri.
To change the name of a tenant that you added manually:
Click the tenant name. The page of the tenant opens.
Click the edit icon (pencil) next to the tenant name. The Update Tenant page opens.
In the Organization Name field, type the new name.
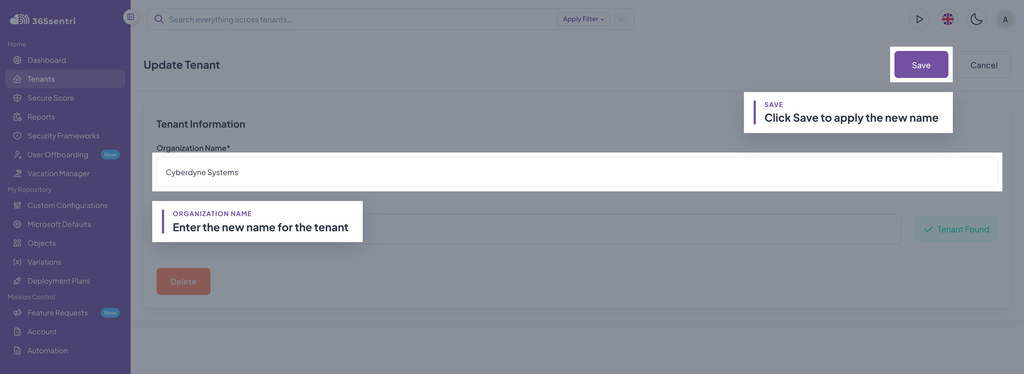
Click Save.
Blueprint
The Blueprint column shows if a Blueprint is applied to the tenant. It also shows the current deployment step of the Blueprint.
Use this column to see the progress of each tenant toward your best-practice configuration. The current step also tells you which step to deploy next.
Health
The Health column shows the overall health of the configuration items that 365sentri manages in the tenant.
The health bar shows the health as a percentage.
Secure Score
The Secure Score column shows the Microsoft Secure Score of the tenant as a percentage.
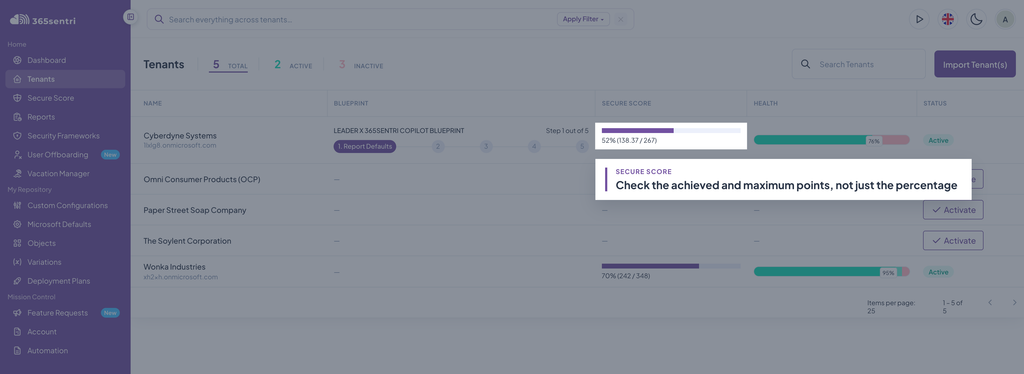
Note If the Secure Score of a tenant is less than 1,000 points, Microsoft usually does not measure the device score for that tenant. These tenants usually have a score of 200 to 300 points. Because the device score is not included, the percentage is higher than it should be. Do not use this percentage to compare the tenant with other tenants.
Activation
The Activation column shows if the tenant is active. An inactive tenant shows an Activate button.
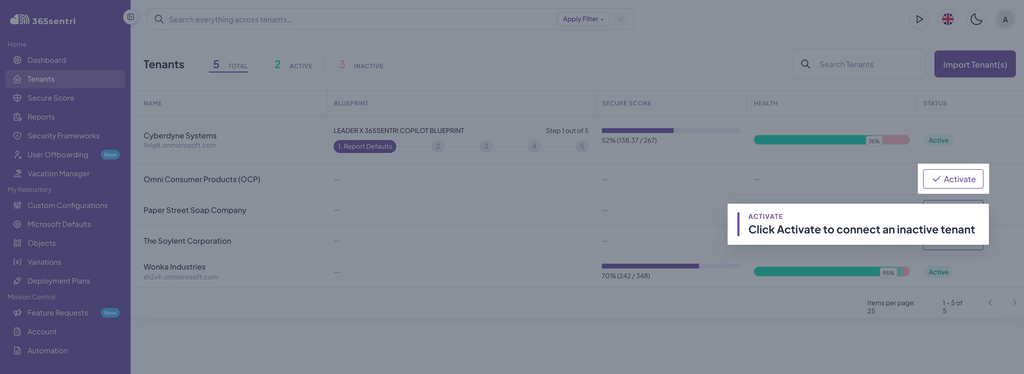
Note You pay only for active tenants. You can activate only the tenants that you will manage with 365sentri. The other tenants stay in the list as inactive, at no cost.
For the activation procedure, refer to Activate Tenant.
Missing tenants
If a tenant does not show in the list, you can add it in one of these ways:
- Add the tenant to Microsoft Partner Center, then synchronize Partner Center with 365sentri
- Add the tenant manually in 365sentri
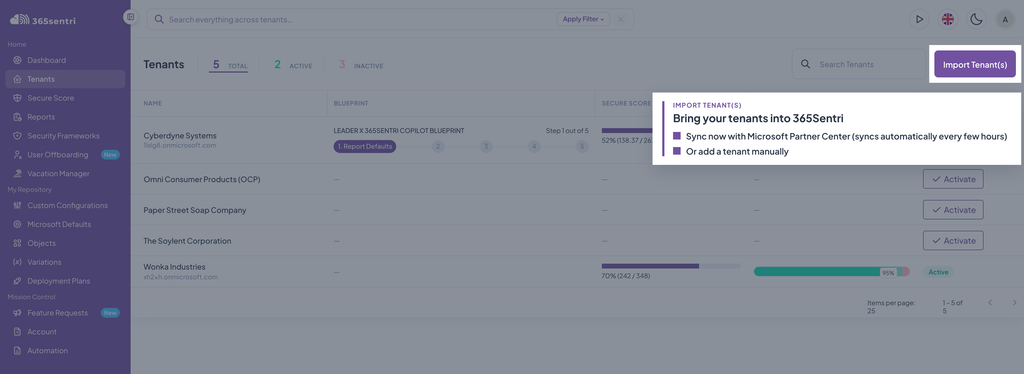
Note If you add a tenant manually and later add it through Partner Center, 365sentri does not make a duplicate. The tenant continues to operate correctly.
For the procedures, refer to Add a Tenant.